How to Install and Configure Symfony Framework in Linux
The Symfony is a free, full-stack PHP framework used for building web applications. It’s well-known for its self-contained components that seamlessly integrate into any PHP project. Symfony also supports multiple languages, including JavaScript and Node.js.
Many open-source developers rely on Symfony for creating high-performance, complex web applications. Additionally, Symfony offers a Command Line Interface (CLI) tool that assists developers in various tasks such as database management, code generation, and executing commands.
Symfony Framework Features
Symfony offers numerous interesting features, which include:
- Full functionality database classes
- MVC (Model View Controller) architectural pattern
- Code reusability
- Modifiable URI routing
- Seamless integration with third-party services
- Error logging
In this article, we will demonstrate the steps to install and set up the Symfony Framework on RHEL-based and Debian-based distributions.
How to Install Symfony Framework in Linux
Before installing the Symfony framework on our system, we need a user with sudo or root privileges to install PHP and the required PHP extensions as shown.
Install PHP in Linux
---------------- On RHEL-based Systems ----------------
sudo dnf install php-ctype php-iconv php-pcre php-session php-simplexml php-tokenizer

---------------- On Debian-based Systems ----------------
sudo apt install php-ctype php-iconv php-pcre php-session php-simplexml php-tokenizer
Next, verify that PHP and the extensions are installed correctly.
php -v

PHP 8.2.16 (cli) (built: Feb 13 2024 15:22:59) (NTS gcc x86_64)
Copyright (c) The PHP Group
Zend Engine v4.2.16, Copyright (c) Zend Technologies
    with Zend OPcache v8.2.16, Copyright (c), by Zend Technologies
The above command should display the PHP version installed on your system, along with information about the installed extensions.
Install Composer in Linux
Installing Composer for Symfony is essential as Symfony relies on Composer as its dependency manager to simplifies the management of PHP libraries and dependencies needed by Symfony and its projects.
php -r "copy('https://getcomposer.org/installer', 'composer-setup.php');"
php -r "if (hash_file('sha384', 'composer-setup.php') === 'dac665fdc30fdd8ec78b38b9800061b4150413ff2e3b6f88543c636f7cd84f6db9189d43a81e5503cda447da73c7e5b6') { echo 'Installer verified'; } else { echo 'Installer corrupt'; unlink('composer-setup.php'); } echo PHP_EOL;"
php composer-setup.php
php -r "unlink('composer-setup.php');"
Install Symfony Framework
Run the following wget or curl command to download and install Symfony using its automatic installation script.
wget https://get.symfony.com/cli/installer -O - | bash
Or
curl -sS https://get.symfony.com/cli/installer | bash
Next, execute the following commands to add the Symfony path variable and apply the changes.
$ export PATH="$HOME/.symfony5/bin:$PATH"
$ source ~/.bashrc
Finally, verify the system meets the requirements for running Symfony applications by running the following command, which will check various aspects of the system, such as the installed PHP version, enabled PHP extensions, and other system configurations necessary for Symfony to function properly.
symfony check:req
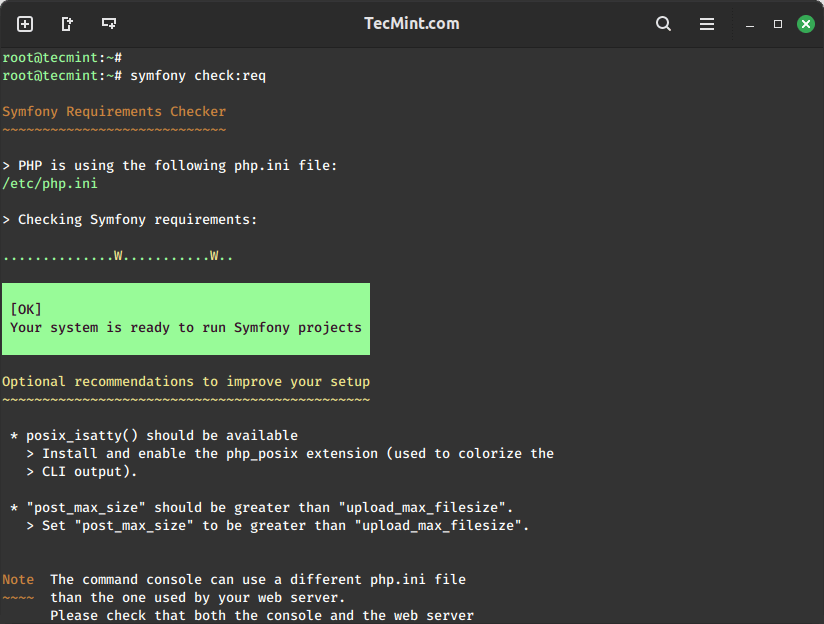
Now that our Symfony framework is installed and ready for running a Symfony project, we must set it up to run a project.
How to Create Symfony Web Applications in Linux
It is considered a good practice to configure Git before setting up a new development environment or beginning work on a new project.
We can use the following Git config commands to configure our Git:
git config --global user.email "email_address"
git config --global user.name "full_name"
Now, we’ll execute the following command to create a new Symfony web application project.
symfony new demo --webapp
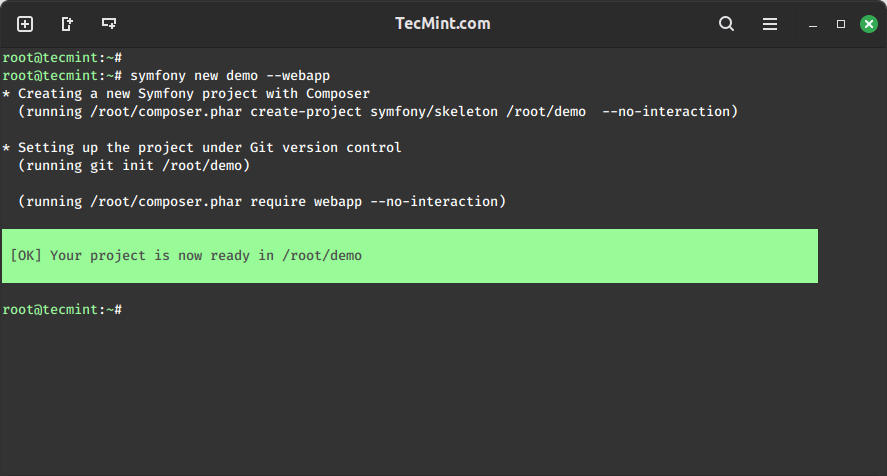
Once our project is ready, we’ll navigate inside the project directory (“demo”) and start the Symfony server.
cd demo
symfony server:start
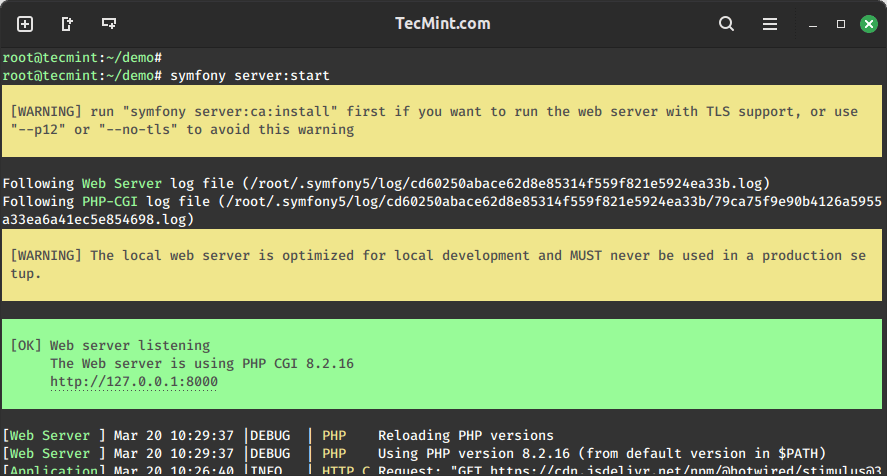
We can notice that our web server is listening at http://127.0.0.1:8000, indicating that we’ve successfully created a new Symfony project.
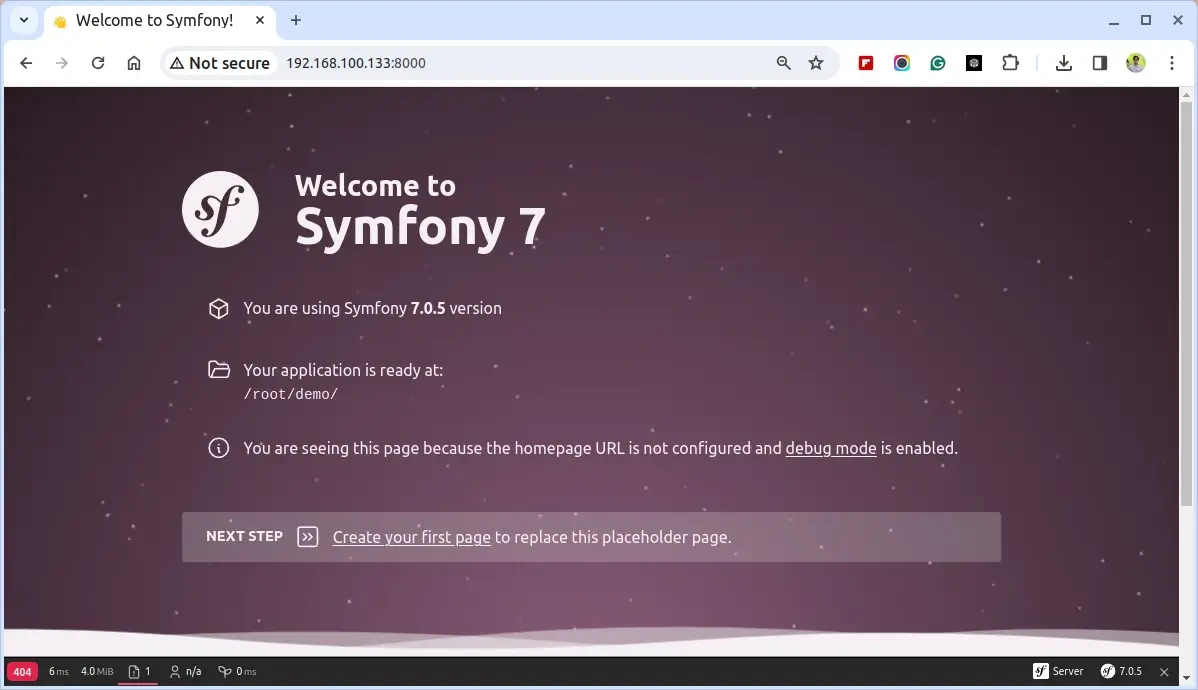
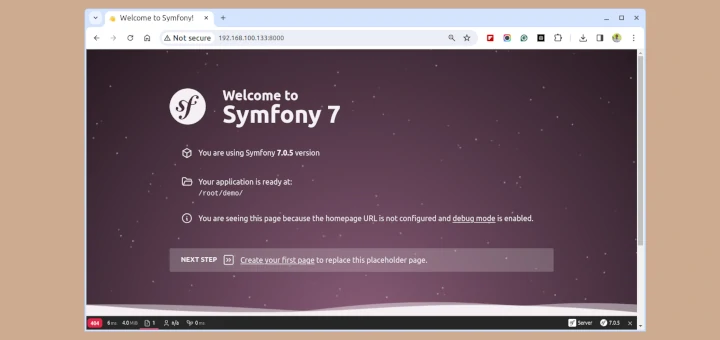
Thus, we can observe the Symfony Welcome page successfully. Furthermore, from the above output, we also notice the address of our project, indicating that we can view any webpage located in that project directory.
That concludes the process. You can now begin creating your first Symfony page in this project directory using its official documentation.
