Building GTK+ Dialogs in Shell Scripts
Zenity is a tool that allows you to create graphical dialog boxes in Linux using the command line. It uses GTK+, a toolkit for creating graphical user interfaces (GUIs), making it easy to add visual elements to your scripts.
Zenity can be extremely useful for shell scripting, as it provides a simple way to interact with users through dialogs such as information boxes, file selectors, progress bars, and more.
In this article, we will dive deep into how Zenity works, the types of dialog boxes it can create, and how to use it effectively in your shell scripts.
Why Use Zenity?
When writing shell scripts, user interaction is usually done via text input/output in the terminal. However, there are scenarios where you may want to provide a more user-friendly experience, especially when the script is intended for people who might not be comfortable with terminal commands.
Zenity helps solve this problem by allowing you to create graphical dialog boxes that are easy to understand and use.
Installing Zenity in Linux
Most modern Linux distributions come with Zenity pre-installed and you can check if Zenity is available on your system by typing the following command in your terminal:
zenity --version

4.0.1
If Zenity is installed, this command will display the version number. If it is not installed, you can install it using your package manager.
sudo apt install zenity         [On Debian, Ubuntu and Mint]
sudo yum install zenity         [On RHEL/CentOS/Fedora and Rocky/AlmaLinux]
sudo emerge -a sys-apps/zenity  [On Gentoo Linux]
sudo apk add zenity             [On Alpine Linux]
sudo pacman -S zenity           [On Arch Linux]
sudo zypper install zenity      [On OpenSUSE]
sudo pkg install zenity         [On FreeBSD]
Basic Usage of Zenity in Linux
Zenity is very simple to use, as it operates by invoking different types of dialog boxes from the command line using various options. Each option corresponds to a specific type of dialog box.
Example 1: Displaying an Information Dialog
One of the simplest uses of Zenity is to show an information dialog.
zenity --info --text="This is an information dialog"
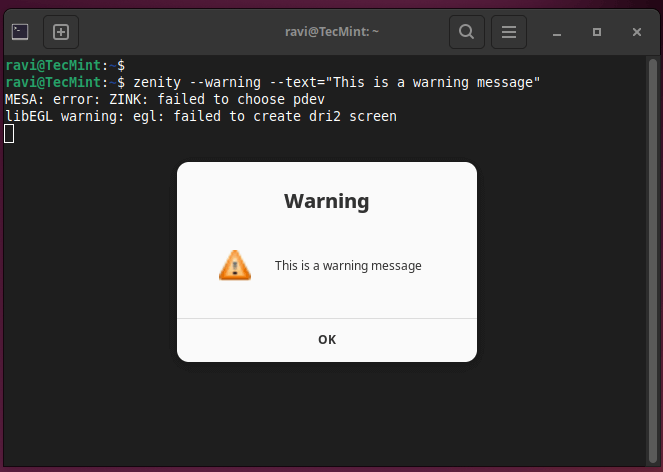
Example 2: Displaying a Warning Dialog
You can also show a warning dialog using the following command:
zenity --warning --text="This is a warning message"
Example 3: Displaying Question Dialog
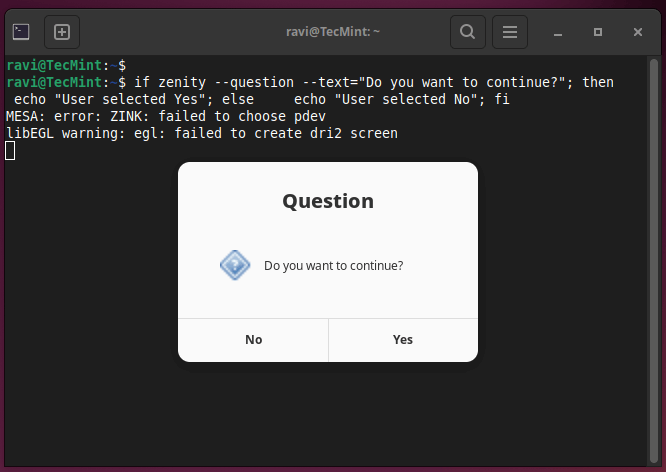
A question dialog can be used to ask the user a yes/no question. The result is returned as an exit code.
if zenity --question --text="Do you want to continue?"; then
    echo "User selected Yes"
else
    echo "User selected No"
fi
Example 4: Displaying File Selection Dialog
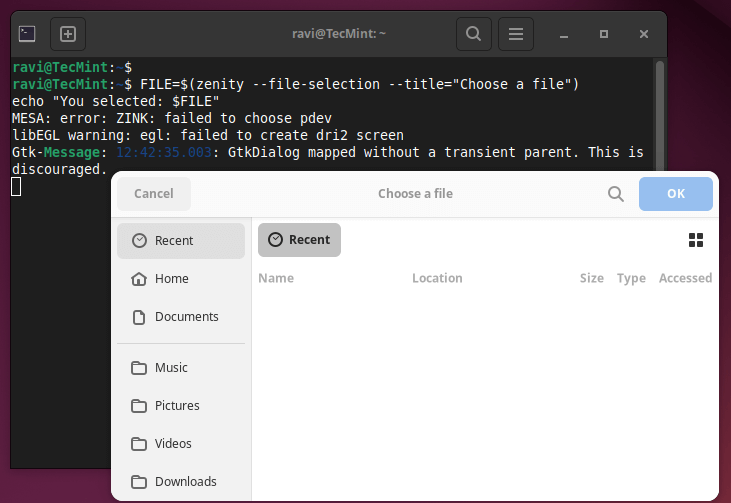
Zenity can also be used to open a file selection dialog, allowing users to pick a file from their system:
FILE=$(zenity --file-selection --title="Choose a file")
echo "You selected: $FILE"
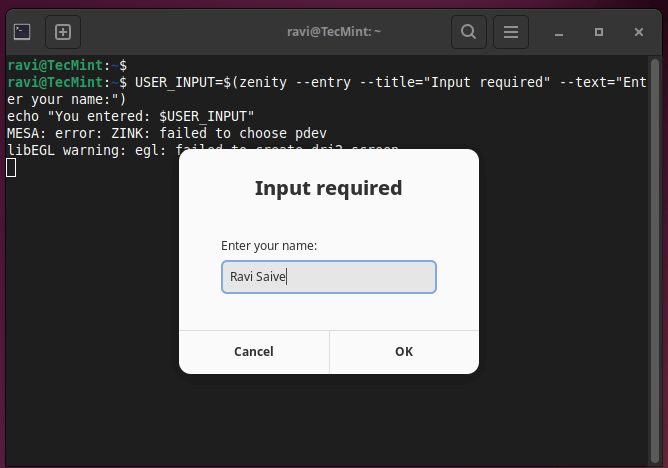
Example 5: Displaying Text Entry Dialog
You can create a dialog box that prompts the user to enter some text, which can be useful for getting user input.
USER_INPUT=$(zenity --entry --title="Input required" --text="Enter your name:")
echo "You entered: $USER_INPUT"
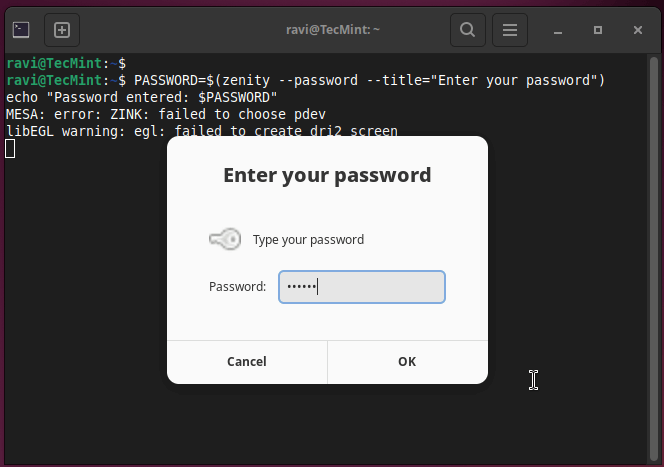
Example 6: Displaying Password Dialog
If you want to ask the user for a password, you can use the password dialog, but the input will be hidden from view:
PASSWORD=$(zenity --password --title="Enter your password")
echo "Password entered: $PASSWORD"
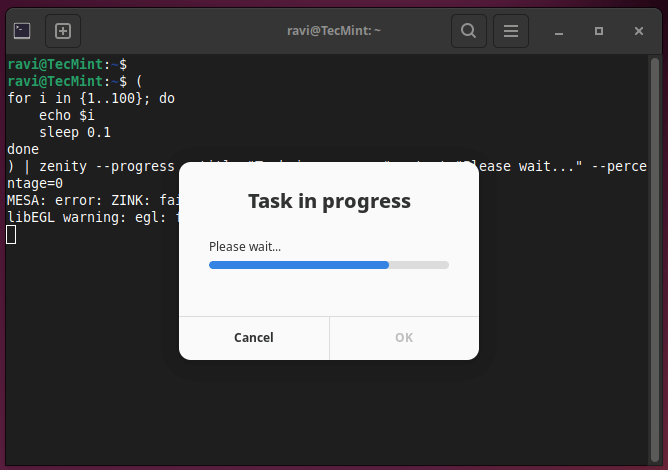
Example 7: Displaying Progress Bar Dialog
Zenity can display a progress bar, which is useful when you want to indicate that a task is in progress.
(
for i in {1..100}; do
    echo $i
    sleep 0.1
done
) | zenity --progress --title="Task in progress" --text="Please wait..." --percentage=0
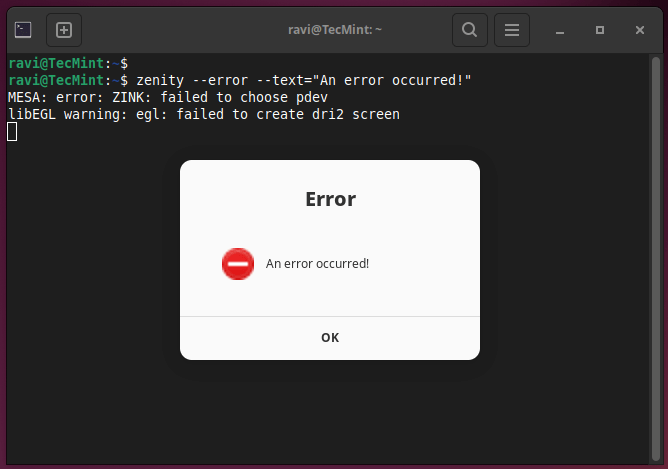
Example 8: Displaying Error Dialog
You can show an error dialog when something goes wrong in your script:
zenity --error --text="An error occurred!"
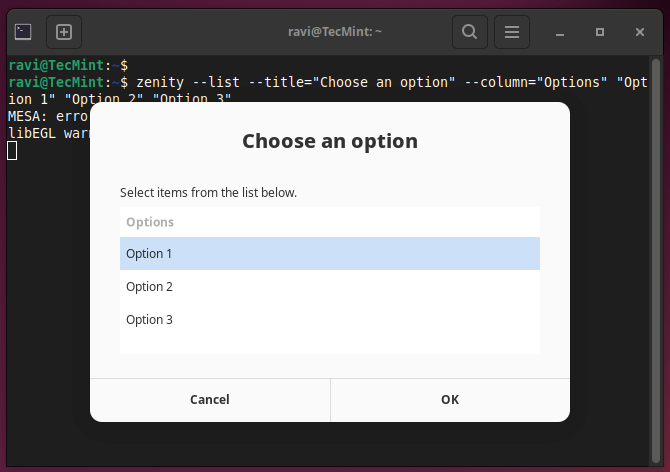
Example 9: Displaying List Dialog
Zenity can display a list of options for the user to choose from:
zenity --list --title="Choose an option" --column="Options" "Option 1" "Option 2" "Option 3"
Using Zenity in Shell Scripts
Zenity can be seamlessly integrated into shell scripts to create a more user-friendly experience.
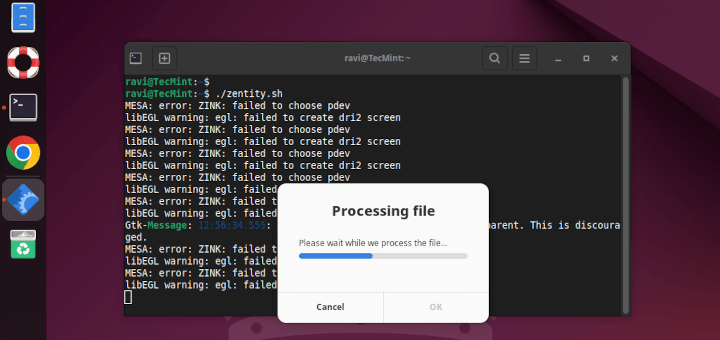
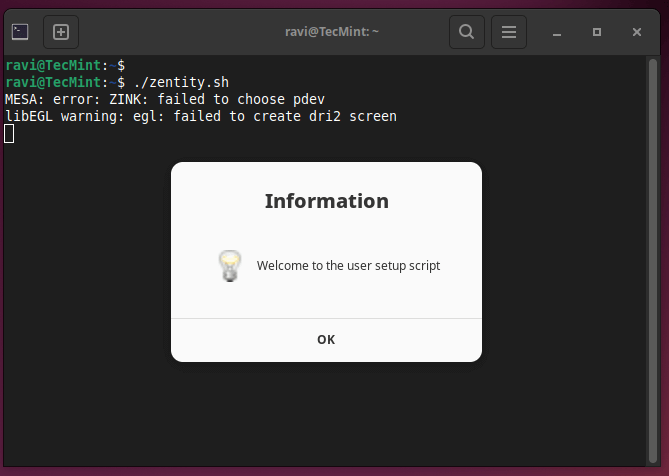
Here is a complete example of a simple script that uses various Zenity dialogs.
#!/bin/bash

# Welcome message
zenity --info --text="Welcome to the user setup script"

# Ask for user's name
USER_NAME=$(zenity --entry --title="User Information" --text="Please enter your name:")

# Ask for confirmation
if zenity --question --text="Is your name $USER_NAME?"; then
    zenity --info --text="Thank you, $USER_NAME"
else
    zenity --error --text="Name mismatch. Exiting script."
    exit 1
fi

# File selection
FILE=$(zenity --file-selection --title="Select a file to process")
zenity --info --text="You selected: $FILE"

# Display progress
(
for i in {1..100}; do
    echo $i
    sleep 0.1
done
) | zenity --progress --title="Processing file" --text="Please wait while we process the file..." --percentage=0

zenity --info --text="Process complete!"
This script starts by welcoming the user, then asking for their name, confirming the name, asking them to select a file, and showing a progress bar while the file is processed. It demonstrates how Zenity can be used to add a graphical interface to a script that would otherwise be text-based.
Error Handling in Zenity
Zenity returns different exit codes based on user actions. Understanding these codes helps to handle errors or user cancellations properly in your scripts.
- Exit code 0: The user clicked “OK” or select an option.
- Exit code 1: The user clicked “Cancel” or closed the dialog.
- Exit code -1: Some error occurred.
You can use these exit codes to handle different user responses:
if zenity --question --text="Do you want to proceed?"; then
    echo "Proceeding..."
else
    echo "Action canceled by the user."
    exit 1
fi
Conclusion
Zenity is an incredibly useful tool for creating graphical dialog boxes in shell scripts. Whether you’re building simple file selectors, interactive question dialogs, or progress bars, Zenity can enhance your scripts by providing a user-friendly interface.
By using Zenity, you can make your command-line applications and shell scripts more accessible to non-technical users.
