How to Install pgAdmin on Ubuntu 22.04
In this post, we will show you how to Install pgAdmin on Ubuntu 22.04 and will also cover how to connect to existing PostgreSQL database server.
pgAdmin is a graphical user interface for PostgreSQL administration, it allows admin to manage postgresql databases efficiently. With an active community of users and developers, pgAdmin receives regular updates and bug fixes, ensuring a reliable database management experience.
Prerequisites
- Pre-Install Ubuntu 22.04
- Sudo User with admin access
- Internet Access
- Pre-Install PostgreSQL
Without any delay, lets quickly jump into pgadmin installation steps on Ubuntu 22.04
1) Install Curl Utility
We need curl command line utility to install public keys of package repository. So, open the terminal and run below apt command,
$ sudo apt update && sudo apt install curl -y
2) Configure pgAdmin APT Package Repository
In order to configure pgadmin repository, first install its public key using below curl command.
$ curl -fsS https://www.pgadmin.org/static/packages_pgadmin_org.pub | sudo gpg --dearmor -o /usr/share/keyrings/packages-pgadmin-org.gpg
Now create the repository configuration file using beneath command.
$ sudo sh -c 'echo "deb [signed-by=/usr/share/keyrings/packages-pgadmin-org.gpg] https://ftp.postgresql.org/pub/pgadmin/pgadmin4/apt/$(lsb_release -cs) pgadmin4 main" > /etc/apt/sources.list.d/pgadmin4.list && apt update'

3) Install pgAdmin on Ubuntu 22.04
Once you are done with setup of pgAdmin repository then run following apt command to install pgAdmin for both desktop and web modes.
$ sudo apt install pgadmin4 -y

4) Configure User Account for pgAdmin Web Interface
Whenever we install pgadmin4 package then it also installs a script “/usr/pgadmin4/bin/setup-web.sh” which is used to configure user account for web interface. Using this script, user accounts will be secured and disallow unauthorized access.
Run the script from the terminal.
$ sudo /usr/pgadmin4/bin/setup-web.sh

Script will prompt you to enter email address, password and restart Apache service.
5) Access pgAdmin Web Interface
With the setup complete, you can now access pgAdmin through your web browser. Open your preferred web browser and enter the following URL in the address bar:
http://<IP-Address-of-Your-System>/pgadmin4
You will be prompted to log in using the email address and password you provided during the setup process.
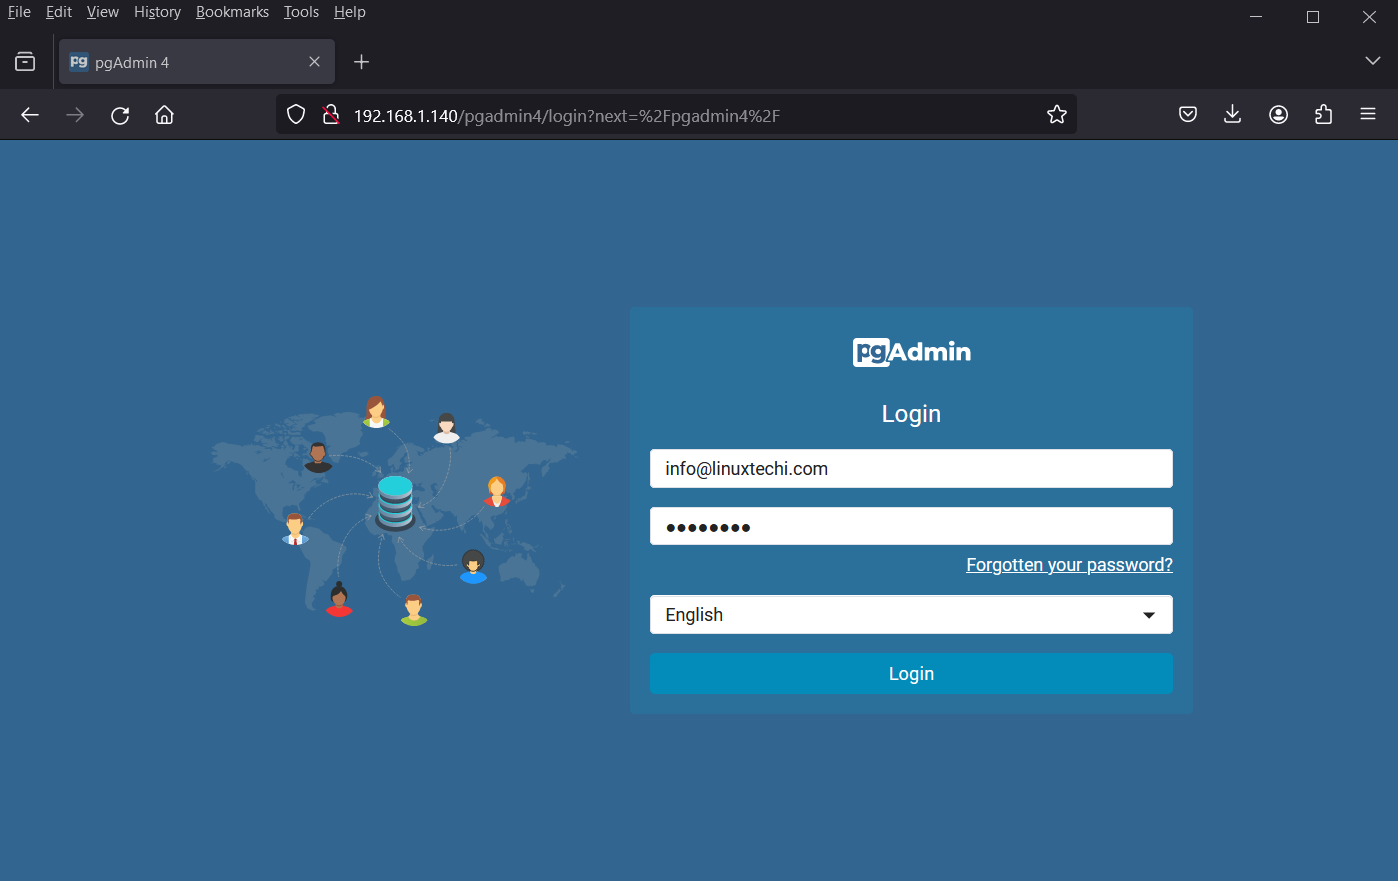
Upon successful login, you will gain access to the PGAdmin interface, where you can start managing your PostgreSQL databases with ease.
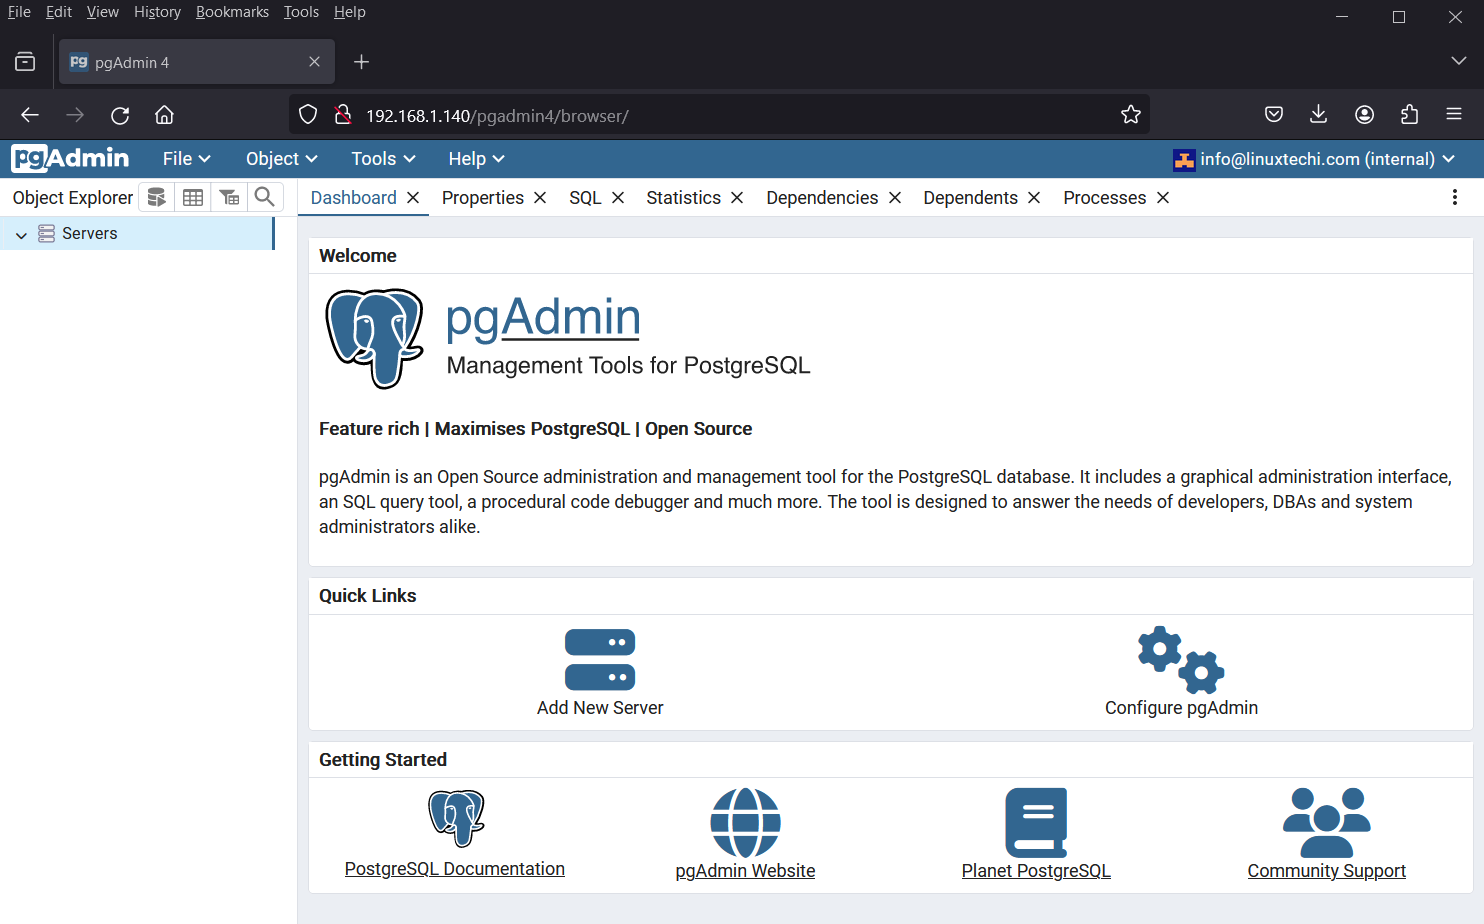
6) Connect to PostgreSQL From pgAdmin
Now that you’re logged in to pgAdmin, it’s time to connect it to your PostgreSQL database server. Follow these steps:
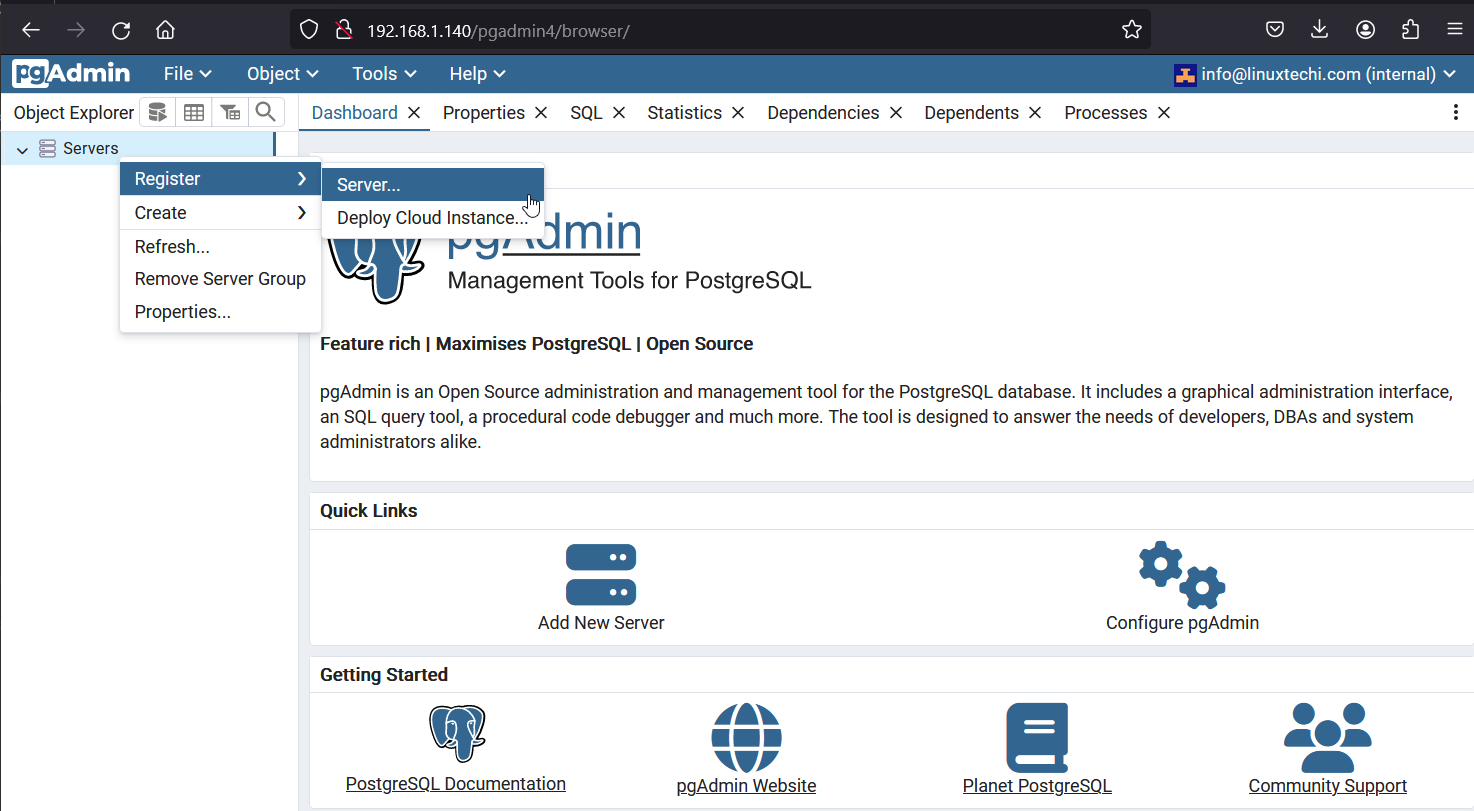
a ) Right Click on Servers Icon, choose Register and then server as shown below:
b) Fill in the following details in General and Connection tab
- Registered Server Name
- Hostname/address: Enter the IP address or hostname of your PostgreSQL server.
- Port: By default, PostgreSQL listens on port 5432.
- Maintenance database: Enter the name of the default database you want to connect to.
- Username: Enter the username of your PostgreSQL user with appropriate privileges.
- Password: Enter the password associated with the username.
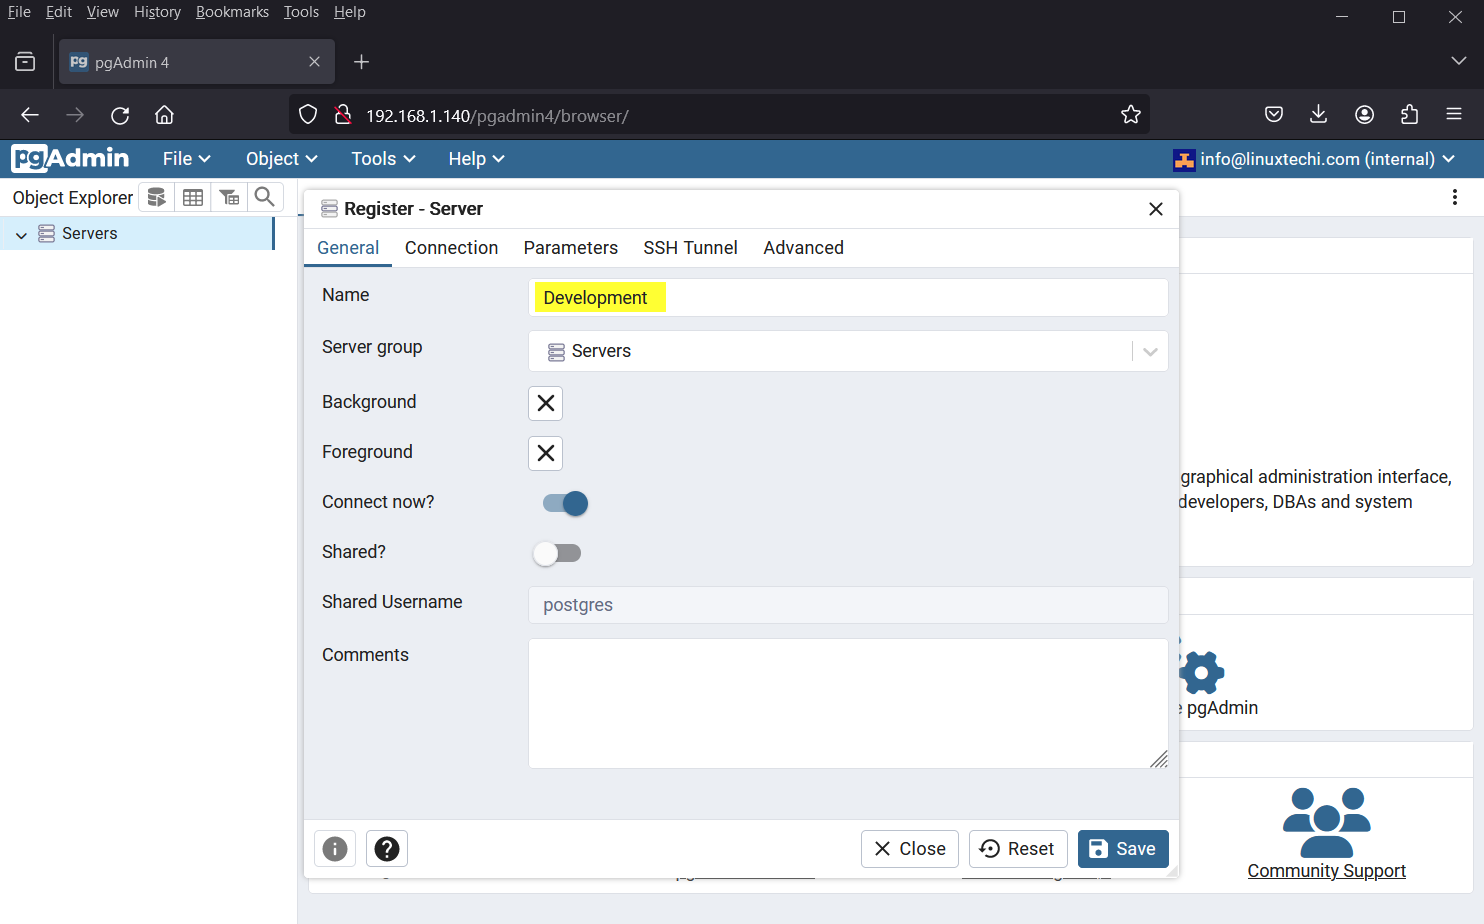
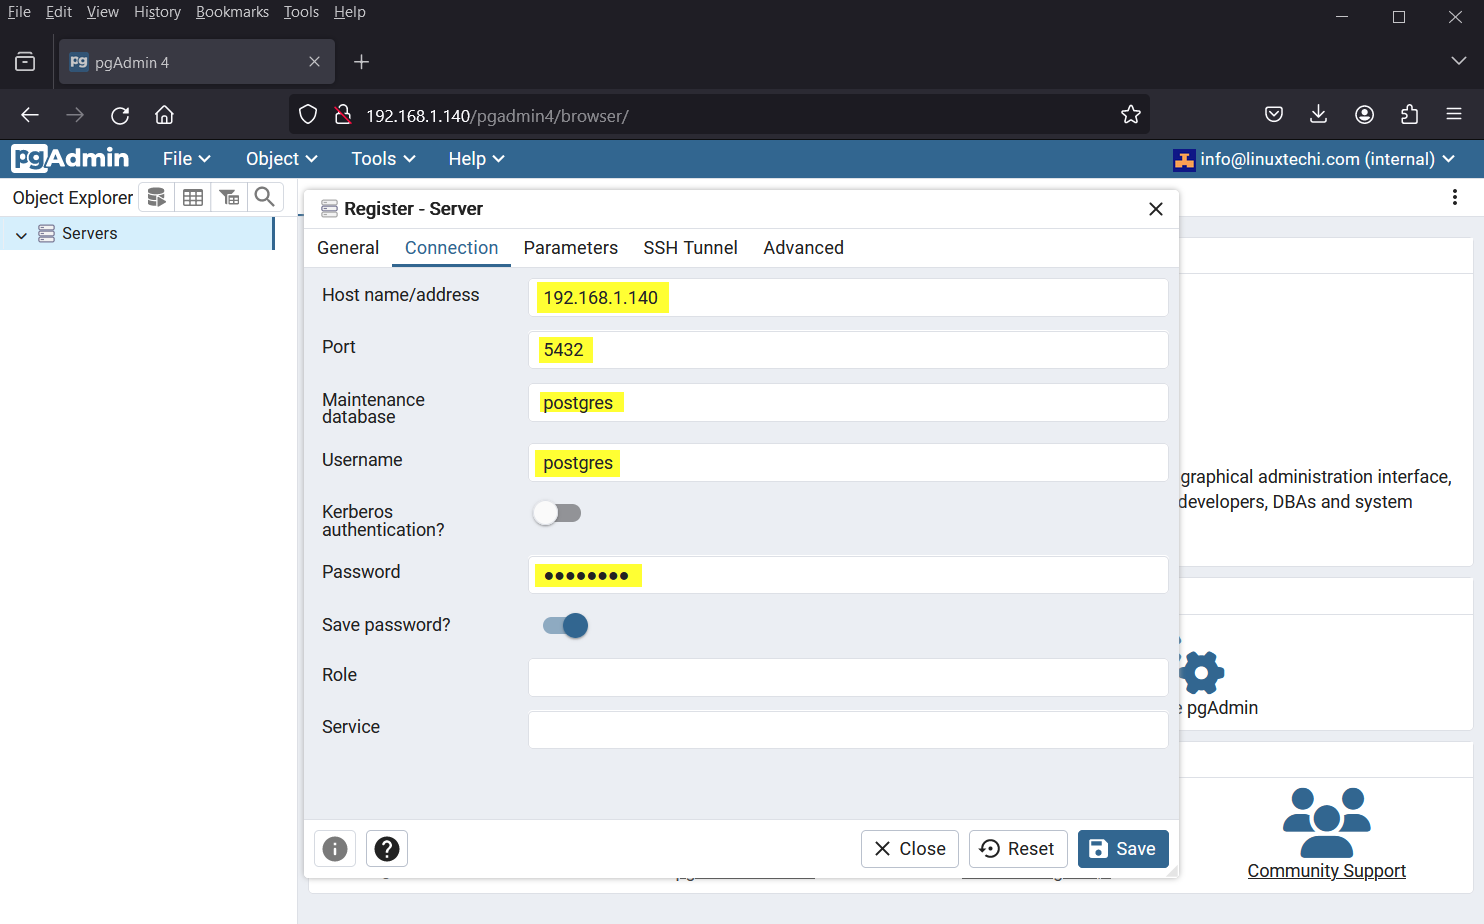
Click “Save” to register the server to pgAdmin.
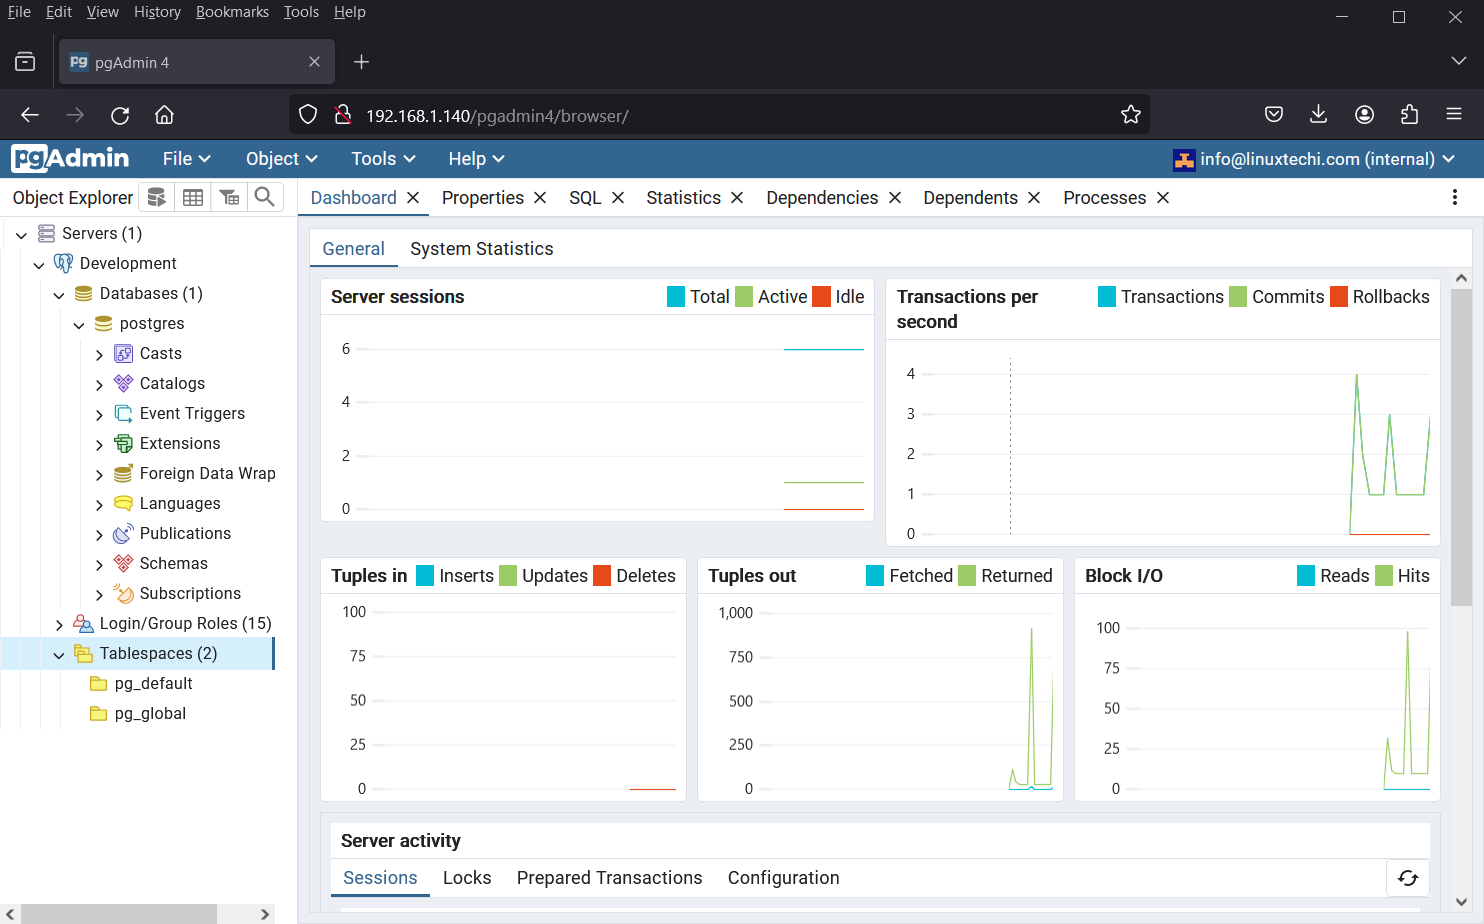
Once the server is added, you can expand it in the pgAdmin dashboard to access the databases, schemas, tables, and other objects within your PostgreSQL server. You can perform various administrative tasks, execute queries, and manage your databases efficiently using pgAdmin’s intuitive interface.
That’s all from this post, I hope above mentioned steps were informative and useful. Feel free to post your queries and feedback in below comments section.
